How to redesign a room with AI while keeping real constraints
Use a room photo to compare styles, preserve fixed features and check furniture scale before buying materials or changing a layout.
Quick answer
Start with a clear room photo and a list of features that must stay. Generate one design direction at a time, then compare the result against the real room. Use AI images to explore choices, and measurements to decide what will fit.
Step by step
Photograph the whole room clearly
Use even lighting and a viewpoint that shows the floor, the main walls, windows and entrances. Remove temporary clutter where practical. Keep a second photo or a simple sketch for areas outside the frame.
Define what can and cannot change
List fixed elements such as doors, radiators, windows and built-in storage. Choose the goal: a lighter style, a different furniture arrangement or new finishes. Measure the room and the furniture separately.
Compare one design direction at a time
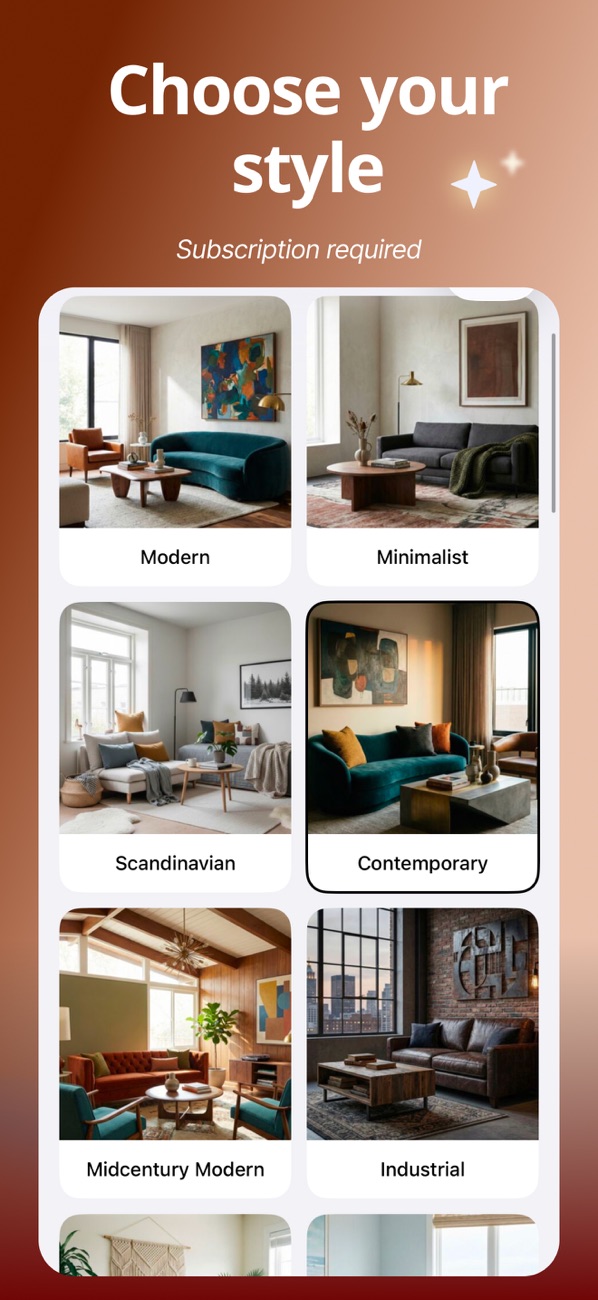
Upload the photo in AI Home Planner & Room Design and try an interior style. Compare variations with the original. Changing fewer things makes it easier to identify whether the improvement comes from furniture, lighting or color.
Turn the concept into a practical checklist
Check clear walking paths, door openings and access to storage. Record the elements you want to try, then compare real dimensions, material samples and availability before buying.
Example: a small living room
If a generated sofa looks better but blocks the balcony door, reject that layout. Keep the useful color idea and try a smaller sofa in the next concept. A visually spacious render can still contain furniture that will not fit.
Before you use the result
The app creates visual concepts. A room photo does not establish exact dimensions, structural feasibility, electrical routes or material quantities. Keep the original photograph available when reviewing AI changes.